
Canvas tents show up really plain because the focus is on the thick hard material and not designs. Not everyone wants a plain tent, and let’s face it, thick cotton fabric isn’t the most stylish camping option.
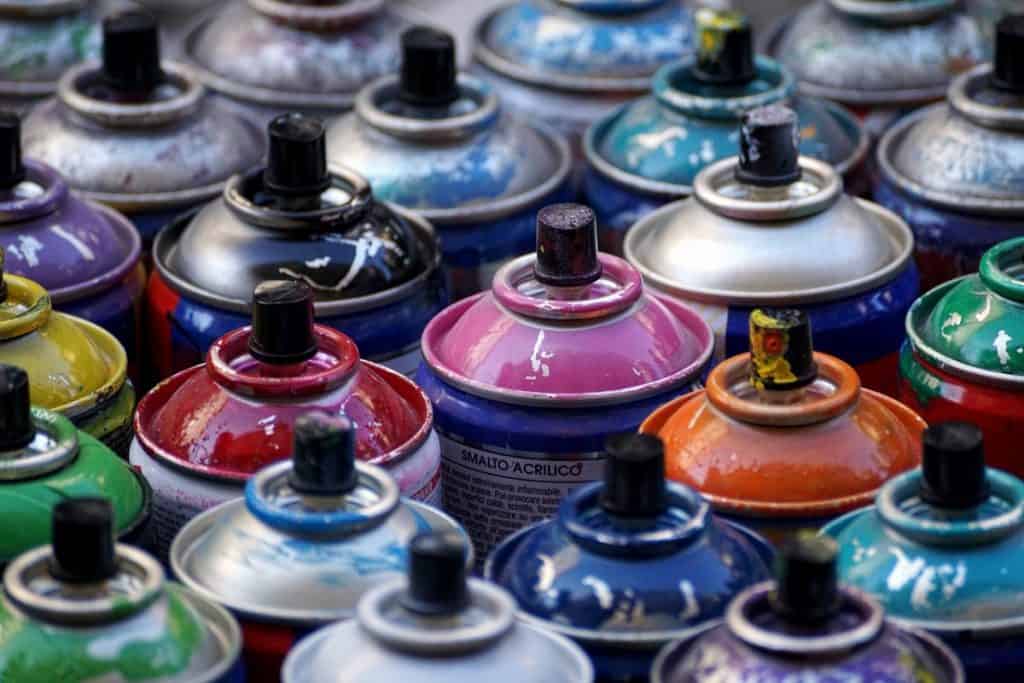
You can use spray paint on a canvas tent, though it’s not the best solution most of the time. However, if you’re going to paint a canvas tent with spray paint then make sure to use acrylic paint of medium viscosity. This will give you the best results when painting canvas fabric.
While going with spray paint can be an interesting choice, if you’re going to go in that direction it’s crucial to take care of a few key details to make sure that you are doing it right.
Painting Your Canvas Paint with Spray Paint: A Step By Step Guide
First the prep work. The most important steps in the process of spray painting your canvas tent and ending up with something you like is making sure to get the prep work right.
A little bit of preparation goes a long way towards making sure the project ends as well as you envision and doesn’t become an unfortunate mess along the way!

Interested in finding the perfect tent color? Check out that link!
Spray Painting Your Canvas Tent Preparation
The first step is making sure you have the right type of paint. You want to look for an acrylic spray paint. Ideally one that is measured as having a medium viscosity.
While other types of spray paint can work, you’re really playing with fire and setting the deck against yourself when it comes to getting the depth of color you want.
Not to mention making sure the color remains deeply ingrained into the fabric itself and doesn’t leak, smear, fade, or wash out.
Two Brands Stand Out
There are many brands of spray paint that fall under this category. If you don’t work with paint much and are looking for recommendations, two big ones are (links lead to Amazon):
These are the brands that are recommended by a wide array of experienced DIY specialists, and are two brands that are even mentioned by major websites like Lowes.
If you are going to use spray paint, going with the big names in acrylic spray paints is a good way to make sure you’re getting a quality product that will react the way you’re hoping it will.
Keep in mind that some acrylic paints are designed for outdoor use while
Decide on a Color
This seems like an obvious step, and to some extent it is, but that doesn’t make it any less important. Once you start spraying, it’s a bit late to be turning back.
Decide on the color or colors you want ahead of time so you can buy in bulk. Canvas tents are surprisingly large when you have to work on them, so you want to make sure to buy your spray paint in bulk so you don’t run out along the way.
What You Will Need
- Medium viscosity acrylic spray paint
- Tarp (or cardboard, newspaper, etc to catch loose paint)
- Water and/or hose
- Seam sealant
- Open area to lay everything out
- The canvas tent to be painted
Step 1: Pick Out & Prepare Your Painting Space
Picking out the right spot is crucial. You will need a place where you can breathe, wash the tent fabric, and let it sit for long periods of time without worrying about anyone messing it up.
Ideally this is an outdoor space that is fenced in, and has space for a large spread out used tarp that you don’t mind getting some paint, to use as a base for when you are doing the cleaning and/or painting.
The setup here is crucial. Stop, think about all the steps of the process, and then decide on whether or not the space you’re looking at using can handle it. If it can’t, then you need to adjust plans.
If it can, then you have a spot to set up and get ready to go.
You want a spot that is:
- Outdoors with open air flow
- In an area where you can spray and clean the fabric
- In an area where it won’t get disturbed by people or animals
- Gives you plenty of space to spread out the fabric as needed
Step 2: Spread the Canvas Tent Over the Ground & Set Up Your Work Station
Many people (myself included) like having a tarp underneath to help keep dust and dirt off of the canvas material, which is important when you are going to paint it.
After spreading the canvas out fully, make sure to set up your full work station. Paint, mask, seam sealant (especially if you’re OCD about any paint appearing inside the tent), anything you need for the process you want to have on hand and easy to access.
It’s ALWAYS worth taking extra time with this step to make sure you have a setup that is easy to navigate, has everything you need, and won’t create any unforeseen problems in the middle of the process.
Step 3: Inspect the Canvas for Dirt/Debris
It is almost always worth giving a once over with the hose and then letting it air dry. Here’s the thing: paint likes to stick to actual fabric.
Even the smallest amount of dirt, danger, or other debris can deflect paint from fully soaking into the fabric. This can lead to streaky, uneven, or discolored patches of canvas.
This is not what you want to see when you are spray painting your canvas tent. Because of this it’s crucial to make sure you have cleaned off your tent before you start with the actual painting.
Step 4: Clean Your Canvas Tent as Needed
If you spot any dirt, debris, or anything similar then you need to clean it off. Even the smallest layer of dust or even spotty bits of debris can mess up the paint job.
Admittedly while spray paint isn’t as well known for being a precision painting tool for most of us (although I LOVE whenever I’m in a city and see an incredible artist using spray paint to create incredible works) you still want the paint job to be as efficient as possible.
This is even true with taking a canvas tent and one-coloring it with spray paint. That might not sound like a big deal but if you spray paint one entire side of the tent and it seems dark in some places, light in others, faded in others, streaky based on different depth of color – well that’s a tough fix.
Clean off the canvas early to avoid these headaches while spray painting your tent.
Step 5: Apply Seam Sealer & Painter’s Tape as Needed
This may not be as important a step for some as others, but if you are looking for a certain level of precision and don’t want any spray coming into the tent (and in fairness, there are some VERY nice canvas tents like this one or this one that I’d want to keep in as good shape as possible) then this is the time to apply those tools.
For painter’s tape I really haven’t found one brand to be superior or inferior to another, though if you have a friend heavy into painting then listen to his/her recommendation.
As far as outdoor fabric sealant, I’m a big fan of what Gear Aid brings to the table because they are heavily outdoor focused. I’d go with a sealant that they produce like this one.
Step 6 (Optional): Stencil Time
If you are putting on unique designs, logos, or specific figures and patterns versus a whole color design then this is the time to put down the extra painter’s tape and any stencils you have to control the spray of the paint and how the design comes out.
If you are just going a whole color or a couple colors without specific patterns then you can skip this part.
Step 7: Start Painting from Top to Bottom
Now you can start the painting. Remember you want to be as efficient as possible because spraying too much in one place can not only lead to uneven depth of color but also runs.
Going from top to bottom in even sprays helps minimize these potential issues while getting you the most solid consistent coloring possible.
Step 8: Let the Paint Dry & Review
Even with acrylic paint (which is known for being fast drying) and ideal outdoor conditions, you’re still going to need to give it a few hours to fully dry.
At that point make a basic visual inspection. Did the paint dry evenly? Is there any spot that was missed? This is a time to make minor touch ups before moving to the over side of the canvas tent.
Step 9: Make Touch Up Changes
You may find everything looks good, or looks good enough that you’re willing to move on to the other side before coming back for any touch up changes. That’s perfectly fair.
If you see any issues that you feel need to be touched up immediately then this is the time to address those before moving on to the next step in the list.
Step 10: Paint the Other Side
Repeat steps 5-9 on the other side of the canvas tent to make sure you paint everything.
At this point the entire outside of the canvas tent should have received at least one full round of paint and you should have a very clear idea of how it looks and what touch up work will need to be done to bring it together.
Step 11: Let Dry & Add Finishing Touches
At this point you should be able to see any potential issues. Where the paint is a touch light or uneven, any signs of streaks, or any spot that you missed.
This is the time to add those finishing touches to get the final look that you wanted out of your spray painted canvas tent.
Repeat this step as needed to get the final look that you want.
Step 12 (Optional): Hand Paint Using Stencils
For some people the spray paint is to create a specific color base or layer before putting on a more precise artistic pattern or design. If that is what you’re end goal is for spray painting a canvas tent, then now is the time to move forward with this step.
Consider Using A Paint Gun
If you aren’t familiar with this type of work, using a paint gun might be a better option than traditional straight out of the can spray paint. This is something worth considering, especially if you have worked with a paint gun before.
If you know any local painters this could be a conversation to have with them so you can get honest feedback based on your specific situation and what you are looking to get done.
If you do go with a paint gun to spray the paint, make sure you get the mixture right!
In this scenario you may have to change the viscosity of the paint yourself to get it where you want. Generally with regular paint that means adding a thinning agent. Usually the ratio is 70% paint to 30% thinning agent for the perfect mixture but once again, make sure to confirm this before moving forward.
Painting Canvas Fabric
One of the biggest reasons to go with an acrylic paint is because that is designed to be used with the outdoors. It’s designed to hold up better against weather, against direct sunlight, against aging, etc.
Canvas fabric offers plenty of opportunities to take and keep color in a way that makes it great to work with in the right situations but you also want to make sure that you take care of it.
When properly taken care of painted canvas can keep its color and appearance for years, giving you a tent that can be used over and over again and passes the test of time with flying colors.
Canvas Tent Painting FAQ
Q: Why paint your canvas tent instead of dyeing it instead?
A: Painting it is fast, extremely effective, and when done correctly has less variables than dying which may or may not work out to the level you want. Painting also allows for more control if you are looking to do some patterns or stenciling.
While there are arguments on both sides of it, some believe that painting canvas material correctly causes the color to last longer than if you dye it. People who are experts at using a dye method may disagree, but it is worth considering.
Q: How long does acrylic paint last on canvas?
A: When properly cared for acrylic paint is designed to last for decades. Now if you’re camping hundreds of days a year in summer sun and rain and snow then the color will understandably fade over time and some chips may appear.
However, small touch ups can handle this and a good paint job with the right viscosity of acrylic paint should be able to last decades, just like a canvas tent.
Q: Can I spray paint my canvas tent with a paint gun instead of straight from the can?
A: Absolutely! There are some extra steps and you do need to make sure that everything goes smoothly, including getting the right mixture of paint vs. thinning agent, but these paint spray guns are tools used by professionals.
When used correctly they can be a great tool for painting your canvas tent.
Q: Can I use other methods for painting my canvas tent?
A: Yes. You don’t have to use spray paint, although there are some valid reasons to believe this is as good or better a strategy than using a brush, roller, or definitely compared to a “dipping” method.
Verdict: Can You Use Spray Paint to Paint a Canvas Tent?
As long as you use a proper setup and use the right type of spray paint, this is a great way to change the color of your canvas tent to something that suits you.
Whether that’s flying the local school colors, making something darker or brighter, or just trying something different, you have plenty of viable options when it comes to spray painting your canvas tent a new color.